Quick Start
Get up and running with NexusFlow in 5 minutes
This guide walks you through installation, configuration, and your first AI conversation.
Prerequisites
Before you begin, make sure your environment meets the following requirements:
| Item | Requirement |
|---|---|
| Operating System | Windows 10 / 11 |
| Unreal Engine | Unreal Engine 5.6 or 5.7 |
| LLM API Key | Any one of: OpenAI / Anthropic / Google Gemini / DeepSeek / Zhipu GLM / MiniMax / Qwen / Kimi |
Installation
- Download the latest
.exeinstaller from GitHub Releases - Run the installer to complete the NexusFlow desktop app setup
- Purchase and install the UE plugin from Fab.com (see Installation Guide for details)
First-Run Wizard
When you first launch NexusFlow and click the floating ball on your screen, a setup wizard will guide you through all the necessary configuration. The wizard has 6 steps:
Step 1: Welcome
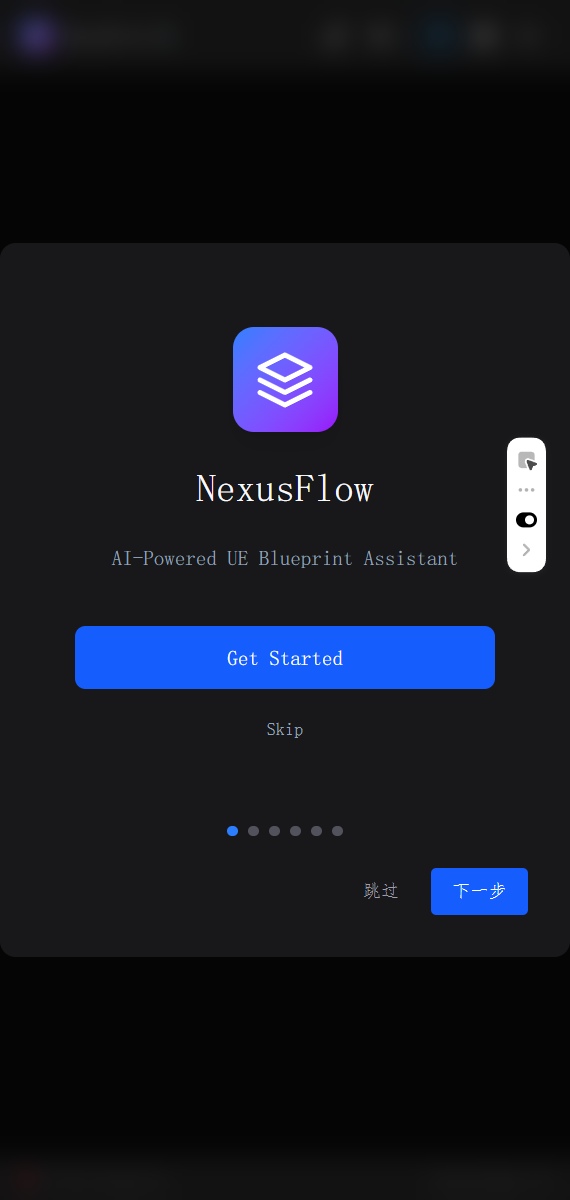
A brief introduction to NexusFlow. Click "Start Setup" to continue, or "Skip" to go straight to the app.
Step 2: Configure AI Model

This is the most important step — you need to add at least one AI model to use the chat feature.
- Select a Provider: OpenAI, Anthropic, Google Gemini, DeepSeek, Zhipu GLM, MiniMax, Qwen, Kimi, or Custom
- Enter a Model Name (a custom label for display in the model list)
- Enter your API Key
- Enter the Model ID (e.g.,
gpt-5.4,claude-opus-4-6) - Optionally adjust Temperature and Max Tokens
- Click Save
TIP
If you choose Custom Provider, you'll also need to enter an API endpoint URL and select the communication protocol (OpenAI Compatible / OpenAI Responses API / Anthropic Messages API / Google Gemini API).
Step 3: UE Plugin Check
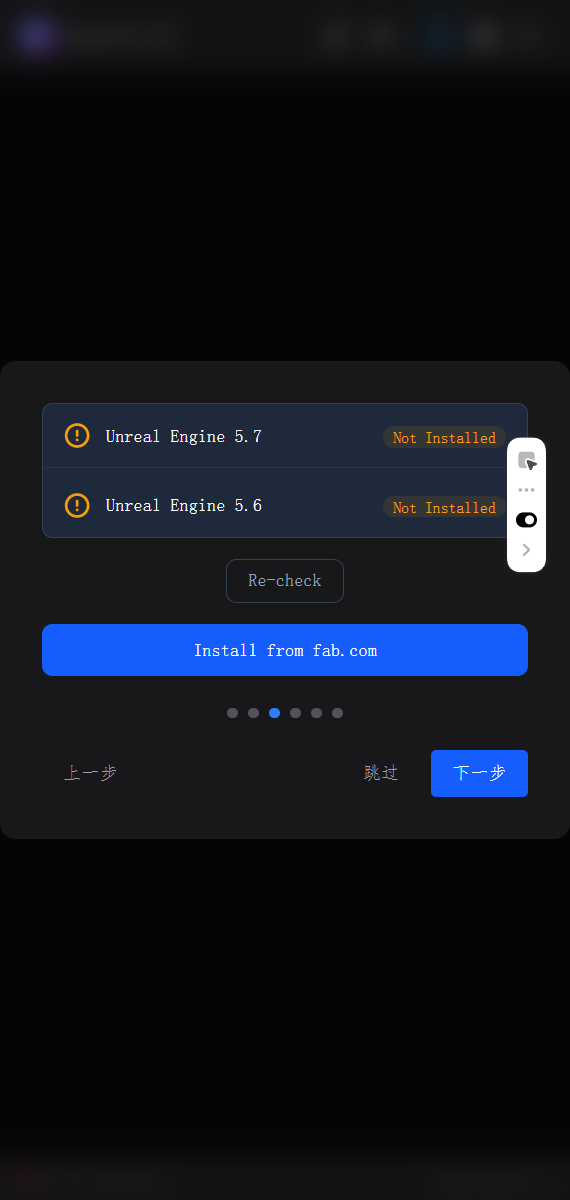
The wizard automatically detects whether Unreal Engine is installed on your computer and whether the NexusFlow plugin is properly set up.
- ✅ Plugin detected: You're good to go
- ❌ Plugin not found: See Installation Guide for manual installation
Step 4: Anonymous Analytics
Choose whether to allow anonymous usage data collection. This data is used solely to improve the product and contains no personal information. You can change this setting at any time.
Step 5: Feature Tour
A quick overview of NexusFlow's three core features:
- Floating Ball: A desktop quick-access entry point — click to open AI chat
- AI Chat Sidebar: The main interface for communicating with AI, supporting floating and docked modes
- UE Quick Menu: 17 AI operations across right-click menus and toolbars in the UE Editor
Step 6: Complete
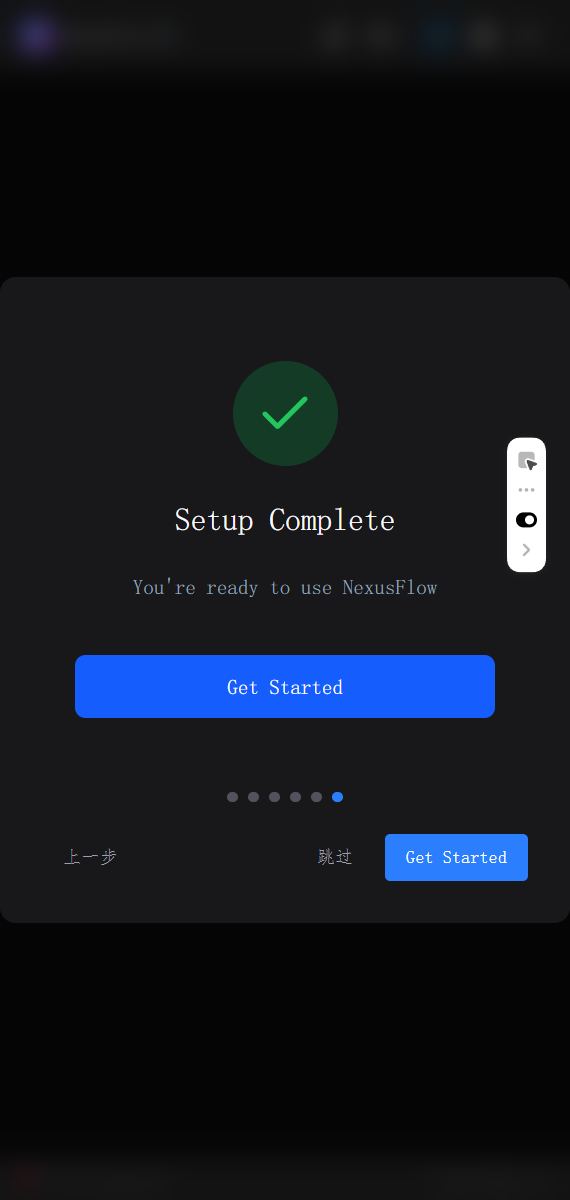
You're all set! Click "Get Started" to enter the AI chat interface.
Keyboard Shortcuts
During the wizard, press Enter to proceed to the next step, or Escape to skip the wizard entirely.
UE Plugin Setup Dialog
The first time UE starts with the NexusFlow plugin enabled, you may see a NexusFlow Setup dialog. This is normal — the plugin checks whether the desktop app is installed and whether the embedding model is ready.
- If everything is in order, no dialog appears
- If something is missing, click Later to dismiss it and set things up later
- See Installation Guide — UE Plugin First Launch for full details
Your First Conversation
Once the wizard is complete, you're ready to start using NexusFlow:
- Launch NexusFlow — A floating ball appears on your desktop (a blue-purple gradient circle)
- Launch the UE Editor — Make sure the NexusFlow plugin is enabled
- Wait for connection — The status bar at the bottom of the sidebar turns from red to green, showing the project name and UE version
- Open a Blueprint — Open the Blueprint you want to work with in UE
- Click the floating ball — Opens the AI chat sidebar
- Type a message — For example: "Explain what this Blueprint does"
The AI will automatically read the information from your currently open Blueprint, analyze it, and respond.
Important
Make sure UE is connected before starting a conversation (the bottom status bar should show a green dot). If not connected, the AI won't be able to operate on Blueprints.
Next Steps
- AI Chat — Explore the chat interface in detail
- Blueprint Operations — Common conversation examples and tips
- Settings — Customize NexusFlow to your preferences
- Installation Guide — See the full installation walkthrough